Introduction: Painting isn’t that Simple
Hey there, Denver! How’s it going? Are you looking to add a splash of color to your home? Maybe you’re tired of those drab walls and are itching to make a change. Well, you’re in the right place! Painting is one of the most cost-effective ways to transform your home. But let’s be real—painting isn’t as easy as it looks on those home improvement shows. It’s an art, a skill, and yes, sometimes a bit of a headache. But don’t worry, we’ve got your back! We’re diving deep into the five most common painting mistakes that even the most enthusiastic Denverites make. And guess what? We’re also going to tell you how to avoid them. So, grab your brushes, put on your painter’s cap, and let’s get this paint party started!
Mistake #1: Skipping the Prep Work
 The Problem
Ah, prep work—the step everyone loves to hate. You’ve just bought this gorgeous shade that you saw in the Denver Paint Color Trends of 2023, and you can’t wait to see how it’ll look on your walls. But hold on a minute! Before you pop open that paint can, there’s something you need to know. Skipping the prep work is like going on a hike without good shoes—you might make it, but it won’t be pretty.
 Why It’s a Big Deal
You see, paint isn’t just about color; it’s about texture, finish, and longevity. If you skip the prep work, you’re setting yourself up for a host of problems. We’re talking uneven paint, peeling, and even those dreaded paint bubbles. And let’s not forget, you’ll end up spending more time fixing these issues than you would’ve spent on prep work.
 How to Avoid It
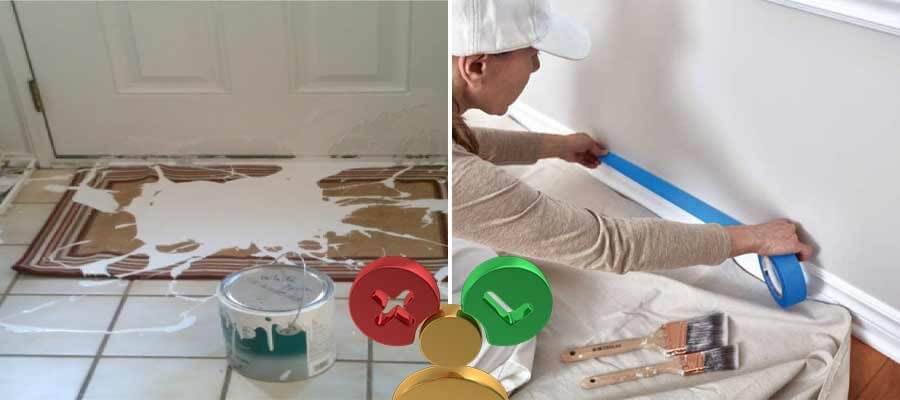
- Clean the Walls: You’d be surprised how much dust and grime can accumulate on walls. And guess what? Paint doesn’t like dirt. So grab a damp cloth and give those walls a good wipe-down.
- Prime the Surface: Think of primer as the wingman for your paint—it sets the stage and makes sure everything goes smoothly. Especially if you’re covering a darker color or painting a new surface, a primer is non-negotiable.
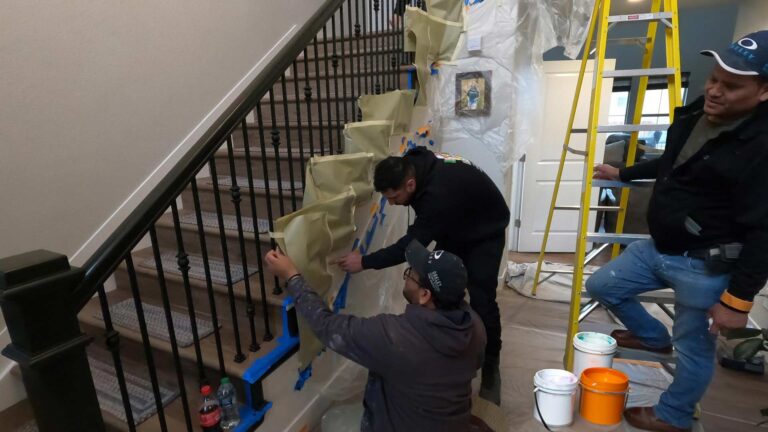
- Tape the Edges: Unless you have a surgeon’s steady hand, you’ll want to tape off the edges to get those crisp lines. And speaking of tape, do you know when to remove the painter’s tape? It’s an art in itself!
- Patch Up Holes: Got small holes or cracks? Patch them up. A smooth surface is key to a flawless paint job.
For a more detailed look at why prep work is so crucial, don’t miss our guide on DIY vs. Hiring Professionals. Trust us, a little prep goes a long, long way!
Mistake #2: Using the Wrong Tools
The Problem
Imagine trying to eat soup with a fork. Sounds frustrating, right? The same goes for painting with the wrong tools. You might think a brush is a brush and a roller is a roller, but oh, how wrong you’d be! Using the wrong tools can turn your painting project into a real-life horror story, complete with streaks, lint, and a finish that’s anything but smooth.
Why It’s a Big Deal
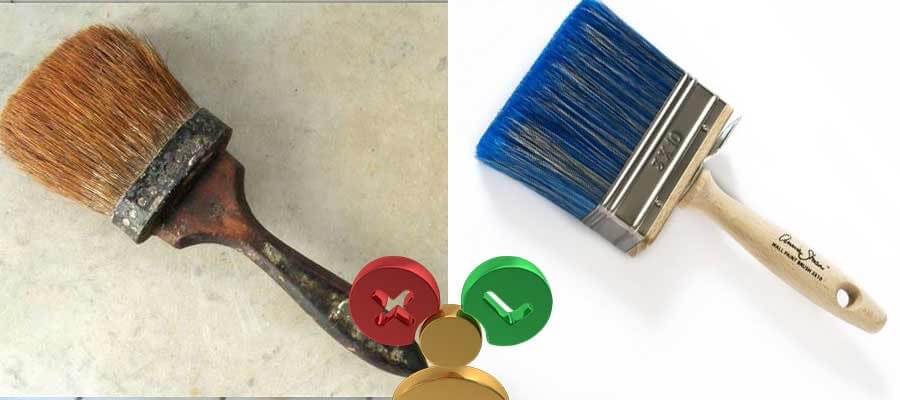
You see, not all painting tools are created equal. A low-quality brush can leave streaks and even lose bristles as you go, turning your beautiful wall into a spiky nightmare. And don’t even get us started on rollers! Choose the wrong one, and you’ll end up with a texture that looks more like an abstract art piece than a wall.
How to Avoid It
- Choose Quality Brushes: A good brush is like a good friend—reliable and makes you look good. Opt for synthetic bristles for water-based paints and natural bristles for oil-based ones. And remember, a quality brush doesn’t just apply paint; it helps you control it.
- Roller Matters: The type of roller you use depends on the texture of your walls. For smooth walls, go for a roller with a short nap. For textured walls, a longer nap will do the trick.
- Don’t Forget the Tray: A paint tray is more than just a container; it’s where your roller gets the right amount of paint. Too much paint leads to drips, and too little can result in an uneven coat.
- Accessorize: Small brushes for detail work, painter’s tape for clean edges, and a sturdy ladder for those hard-to-reach spots are all part of the painting arsenal. Make sure you’re fully equipped before you start.
For a deep dive into the world of painting tools, don’t miss our guide on What Painters Do: Tips & Secrets. Trust us, the right tools can make or break your painting project!
Alright, Denver, we’ve covered the first two big mistakes. We’ve talked about the importance of prep work and why using the right tools is crucial. But we’re not done yet! There are still more pitfalls to avoid and tips to share.
Mistake #3: Ignoring the Denver Climate
The Problem
Ah, Denver, the city where you can experience all four seasons in a single day. It’s charming, it’s quirky, but when it comes to painting, it can be downright problematic. You might think, “It’s just paint; how much can the weather affect it?” Well, let me tell you, it can affect it a lot!
Why It’s a Big Deal
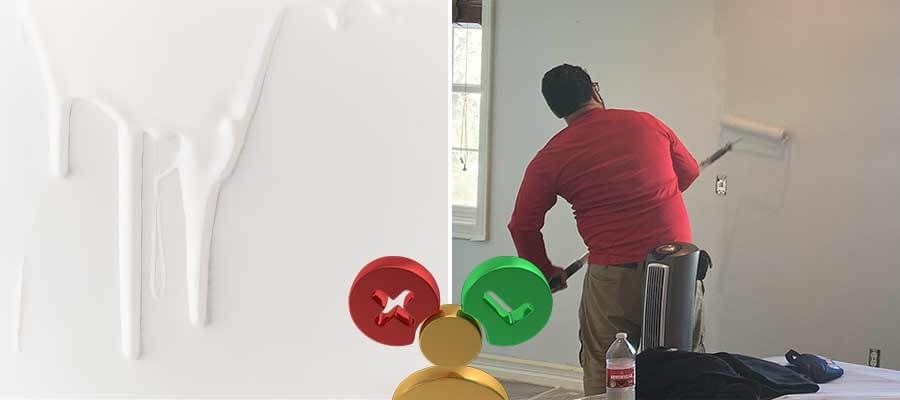
Paint is a bit like Goldilocks—it doesn’t like it too hot or too cold; it has to be just right. Extreme temperatures will cause the paint to dry too fast or not at all, leading to all sorts of issues like cracking, blistering, and even mold growth. And let’s not forget about humidity; too much of it and your paint might end up looking like a splotchy mess.
How to Avoid It
- Check the Weather: This might sound obvious, but you’d be surprised how many people overlook this simple step. Aim for a dry, mild day for your painting project. And if you’re painting outdoors, make sure there’s no rain in the forecast for at least 24 hours.
- Consider the Humidity: Denver’s generally dry climate can actually be a boon for your paint job, but too much humidity is a no-go. If you’re painting indoors, consider using a dehumidifier to keep things balanced.
- Time It Right: Believe it or not, the time of day you paint can also make a difference. Early morning or late afternoon is ideal, as the temperatures are more moderate.
- Test, Test, Test: When in doubt, do a small test patch and see how the paint reacts to the current weather conditions. If it dries evenly and adheres well, you’re good to go!
For more insights on how Denver’s unique climate can impact your paint job, don’t miss our article on the Impact of Denver’s Climate on Your Paint.
Whew! We’ve covered a lot of ground, haven’t we? From prep work to tools to the ever-changing Denver weather, we’re arming you with all the knowledge you need to make your painting project a smashing success.
So, how are we doing? Ready to tackle the next set of common painting mistakes?
Mistake #4: Choosing the Wrong Color
The Problem
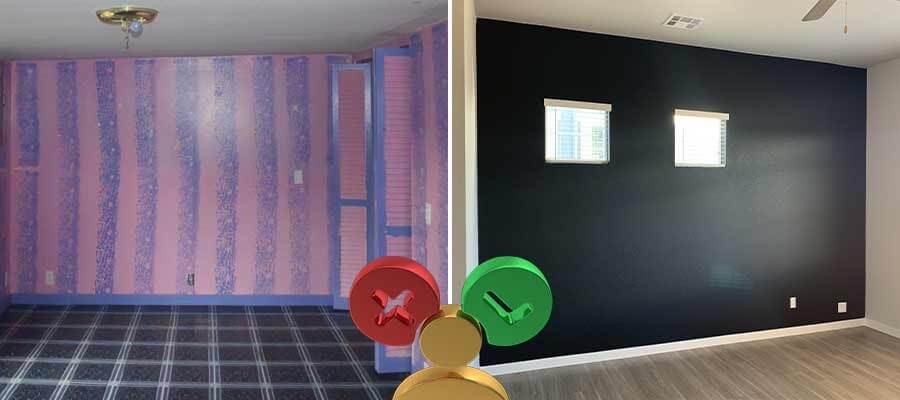
So, you’ve found this absolutely stunning color on Pinterest, and you’re convinced it’s “the one.” You rush to the store, buy a few gallons, and start painting, only to realize—yikes!—it looks nothing like the picture. Sound familiar? Choosing the wrong color is a mistake that’s as common as snow in the Rockies, and it’s one that can leave you with a serious case of painter’s remorse.
Why It’s a Big Deal
Color isn’t just a visual element; it sets the mood and tone of a space. Get it wrong, and you could turn your cozy bedroom into a cold, uninviting chamber. And let’s not forget, paint isn’t cheap! Choosing the wrong color can become a costly mistake, both in terms of money and effort.
How to Avoid It
- Sample, Sample, Sample: Those tiny paint chips at the store? They’re not enough. Always buy a small sample and test it on your wall. Live with it for a few days and see how it looks in different lighting conditions.
- Consider the Light: Natural light can dramatically change how a color looks. A shade that looks perfect in the store’s fluorescent lighting might look entirely different in the warm glow of your living room.
- Think About Your Décor: Your paint color should complement your furniture, artwork, and other décor elements. Consider the overall palette of your room before making a decision.
- Consult the Color Wheel: Remember that thing from art class? It’s more useful than you think. Colors that are opposite each other on the wheel are complementary, while those next to each other are analogous and create a harmonious look.
For a deep dive into the psychology and science of color, check out our article on The Psychology of Color.
Alright, Denver, we’re nearing the finish line! We’ve covered a lot of ground, and you’re now armed with the basic knowledge to tackle your painting project like a pro. But we’ve got one more common mistake to cover, so stay tuned!
How are we doing? Ready for the grand finale?
Mistake #5: Rushing Through the Job
The Problem
You’ve prepped the walls, chosen the perfect tools, waited for the ideal weather, and even nailed the color. You’re so close to the finish line that you can almost taste it. But hold on! This is no time to rush. Painting is a marathon, not a sprint, and rushing through it can lead to a host of problems.
Why It’s a Big Deal
Imagine baking a cake and taking it out of the oven before it’s fully cooked. It might look okay on the outside, but inside, it’s a gooey mess. The same goes for painting. Rushing can lead to uneven layers, visible brush strokes, and even dreaded drips and splotches. And let’s be honest, nobody wants to redo a paint job they just finished.
How to Avoid It
- Take Your Time: Patience is a virtue, especially in painting. Make sure to give each coat enough time to dry before applying the next one. This ensures a smooth, even finish that will make your walls look like they were done by a pro.
- Follow the Steps: Each step in the painting process, from prep to final coat, is crucial. Skipping any can lead to a less-than-perfect result. For a detailed guide on each step, check out Step-by-Step: Choosing the Perfect Paint Finish.
- Quality Over Speed: It’s not about how fast you can get it done, but how well you can do it. Just like the story we all grew up on, slow and steady wins the race, especially when painting.
- Inspect as You Go: Don’t wait until you’ve put away all your supplies to inspect your work. Check for inconsistencies, drips, or missed spots as you go. It’s much easier to fix mistakes while you’re still in the painting groove.
Wrapping It Up
And there you have it, Denver! We’ve covered the five most common painting mistakes and how to avoid them. Whether you’re a seasoned DIYer or a first-timer, we hope this guide helps you navigate the colorful world of painting. Remember, a bit of knowledge and preparation can go a long way in making your home a Mile-High masterpiece.
For more painting tips and tricks, don’t forget to check out our Denver Painters Blog.
Happy painting, Denver!
People Also Ask: Your Top Painting Questions, Answered!
Hey there, Denver! We know painting can be a bit like solving a Rubik’s Cube—lots of moving parts and questions. So, let’s get to answering some of your most burning questions, shall we?
 What Not to Do When Painting?
Ah, the first big question! One thing you definitely shouldn’t do is paint over wallpaper. It’s a shortcut that can lead to problems down the line. For more on why and how to properly remove it, check out our Wallpaper Removal guide.
 How Do You Fix Common Painting Mistakes?
Mistakes happen, even to the best of us. If you find yourself in a painting pickle, don’t fret. Our Painting Services page has a bunch of solutions for common painting errors.
 Is There a Wrong Way to Paint a Wall?
You bet! And the wrong way usually starts with poor technique. If you’re tackling an indoor project, our Interior Painting guide has all the tips and tricks to make sure you’re on the right track.
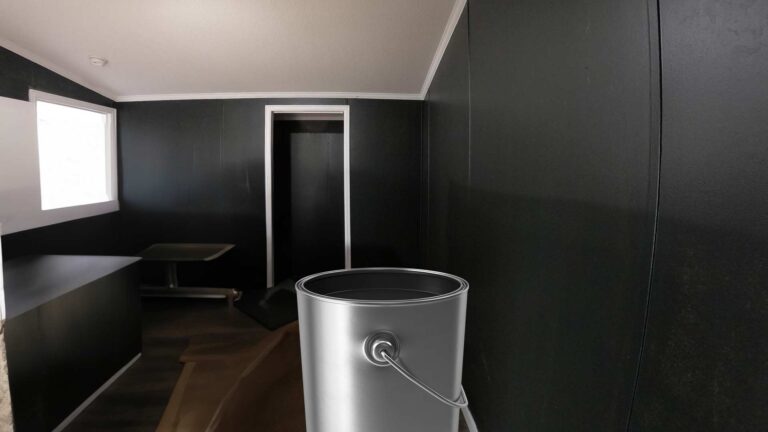
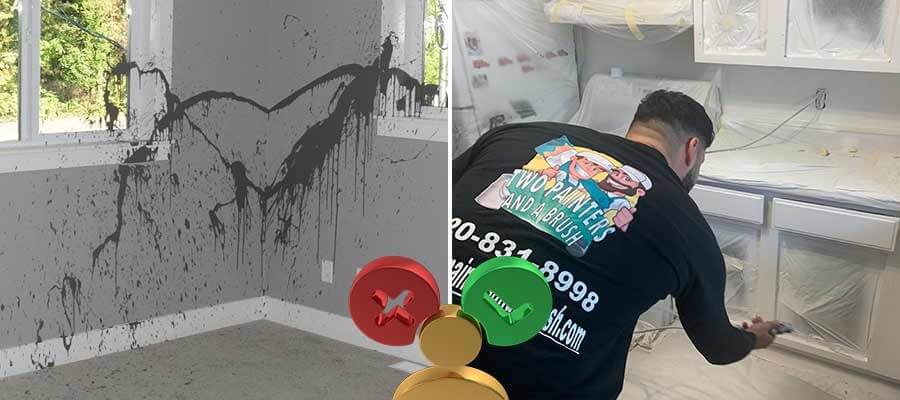
 What Does Bad Paint Look Like?
Think uneven, streaky, and just plain unappealing. If you’re working on the outside of your house, you’ll want to avoid these pitfalls. Our Exterior Painting guide can help you sidestep these common issues.
 What’s the 1-3 Rule in Painting?
This is all about getting the paint-to-thinner ratio just right. It’s a bit technical, but oh-so-important. For a deep dive into this and other painting essentials, head over to Two Painters and a Brush.
 Can I Just Paint Over Old Paint?
It’s tempting, but not always the best idea, especially if the surface is uneven. If you’re dealing with a popcorn ceiling, for instance, you’ll want to check out our Popcorn Ceiling Removal guide before you start painting.
 Should I Paint All Walls the Same Color?
Personal preference rules the day here! If you’re thinking of extending the new color scheme to your kitchen cabinets, our Kitchen Cabinet Painting guide has some awesome tips.
Ready to make your home in the Denver Metro Area a masterpiece?
Contact us directly for a free in-home consultation!